
Lemon Peel Stitch Crochet Tutorial
The easy lemon peel stitch is one of my favorite crochet stitches to use. It’s a simple one-row repeat, alternating two basic stitches, single crochet and double crochet. The height difference between the two stitches causes the double crochet to make a small bobble, giving a subtle lemon peel texture rather than a smooth fabric.
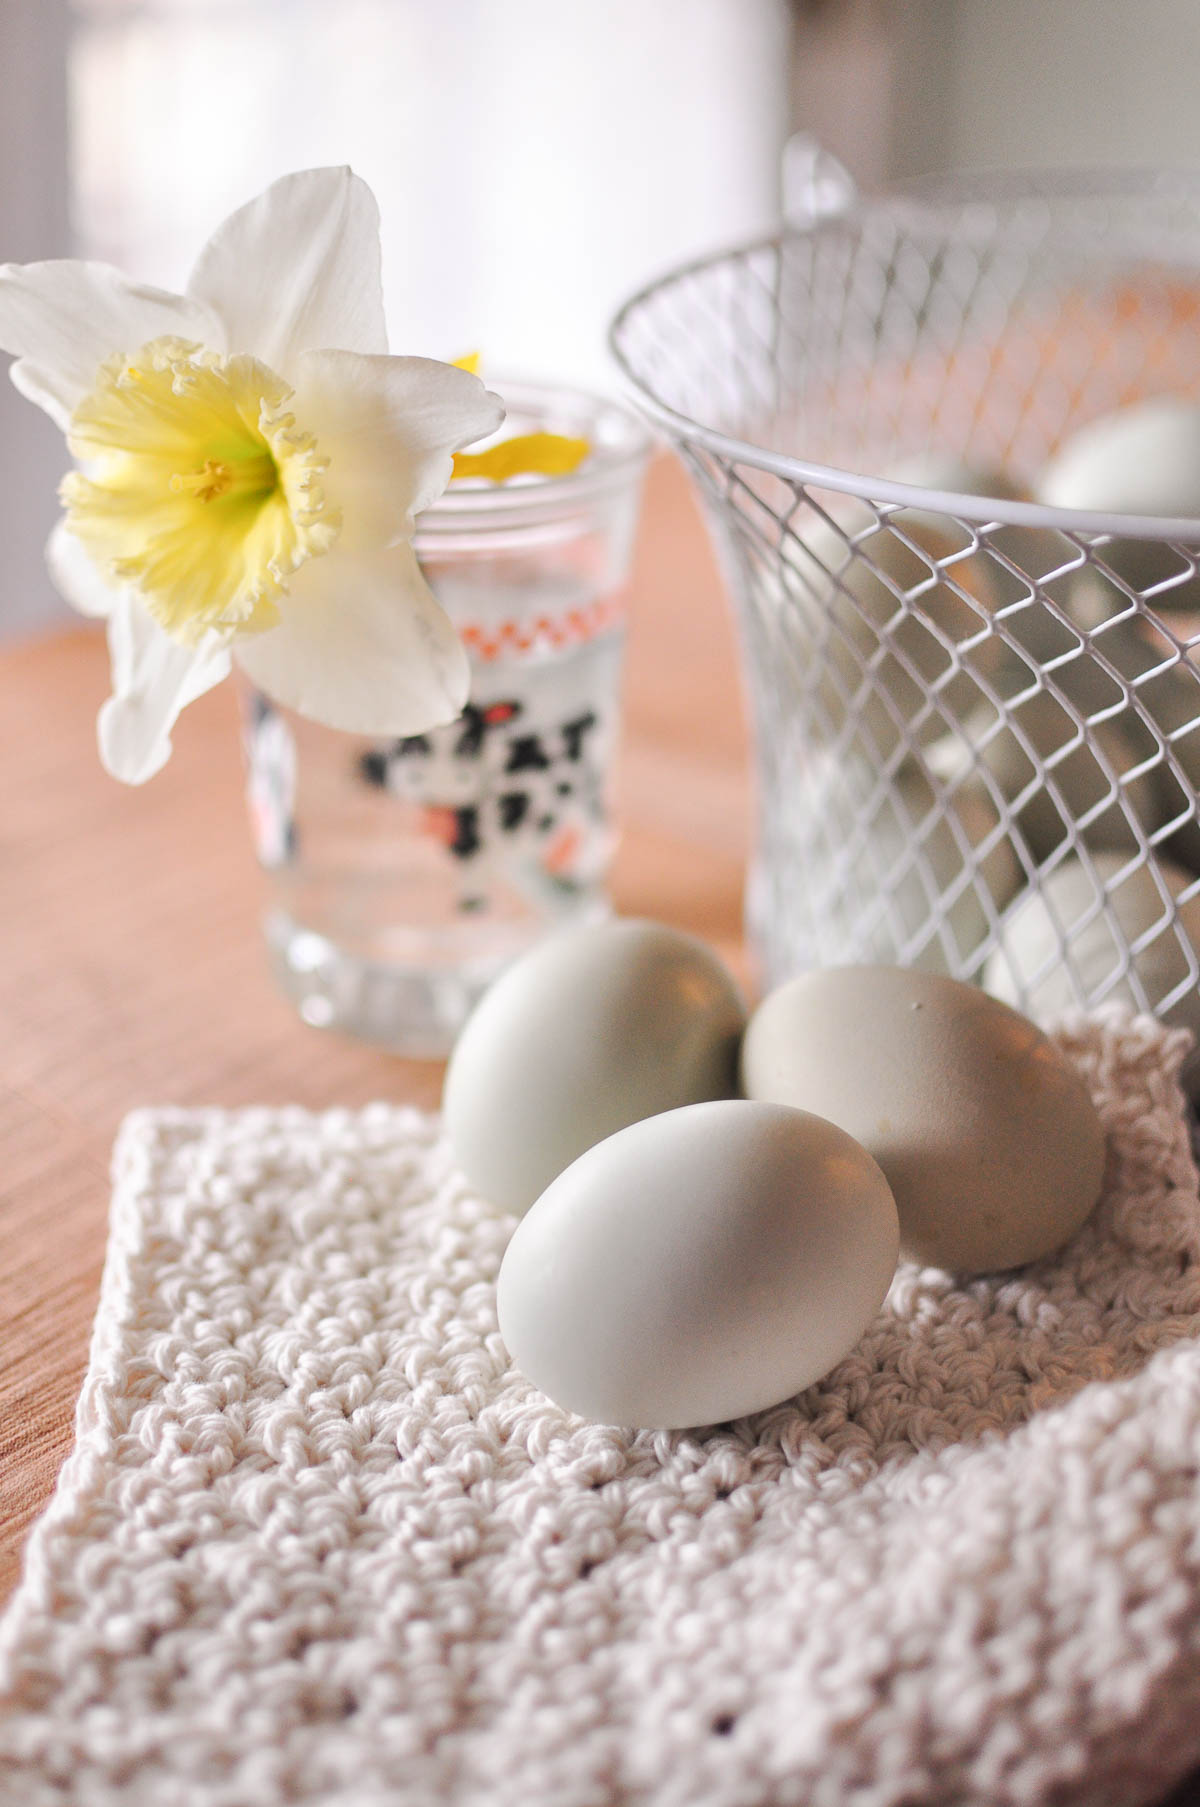
This simple pattern produces such stunning results. I use this stitch for my favorite Easy Dishcloth Pattern and the cozy Chunky Crochet Blanket.

Whether you’re an experienced crocheter or a beginner, I’ve got you covered in this step-by-step photo tutorial.
Grab your yarn and hook and let’s get started!
Lemon Peel Stitch Written Pattern
Chain an odd number in the width of your desired project. I’m using 15 for this example.
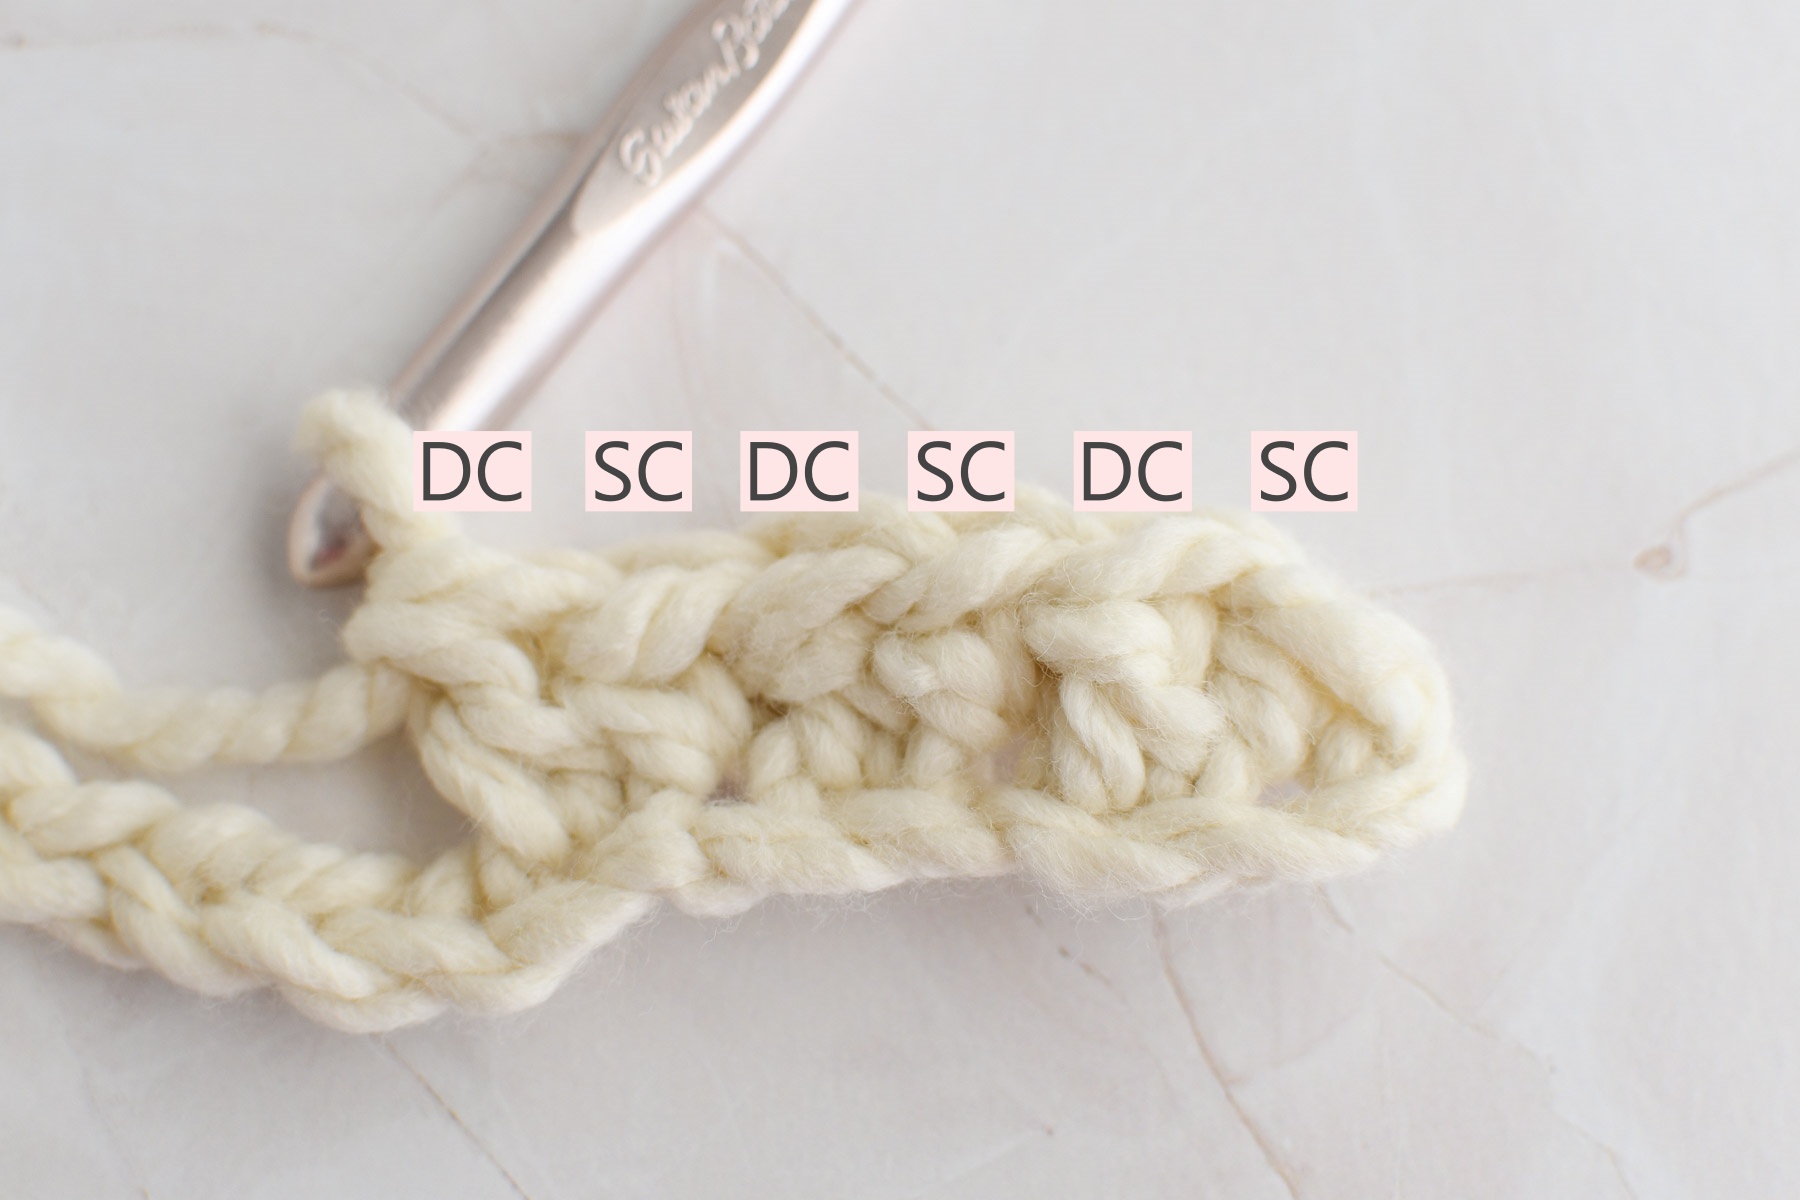
Row 1: SC in the 2nd chain from the hook. DC in the next chain, continue in this pattern alternating SC and DC in each stitch across the row (14 stitches). The last stitch of the row will be a DC. When you’ve reached the end, chain 1 and turn.
Row 2: SC in first stitch, DC in next stitch. *SC, DC* across row. (The SC should be in the DC from the row below, and vice versa). Rows always begin with a SC and end with a DC. At the end of the row, Ch 1 and turn.
Repeat Row 2 until the project is the length that you like.
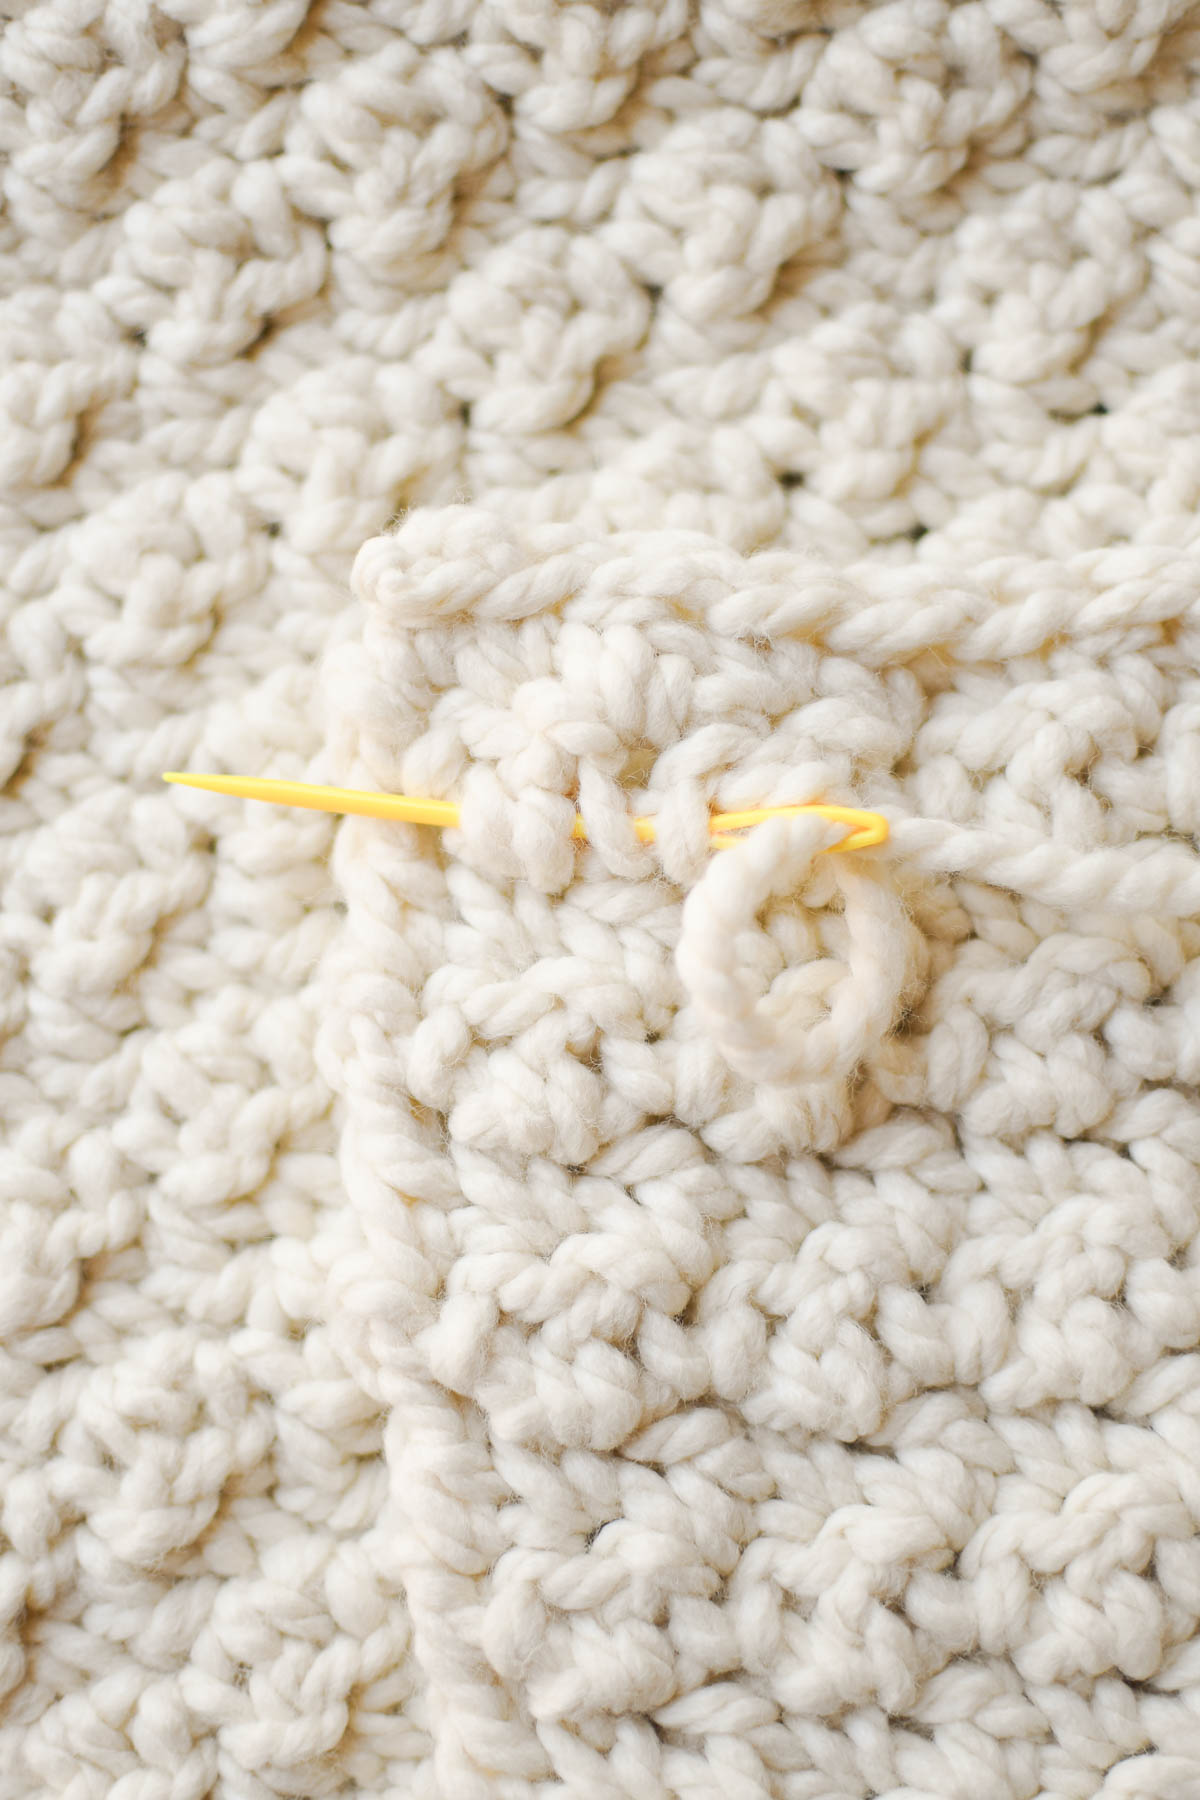
To finish the project: At the last stitch of the row, cut yarn leaving a long tail and fasten off. Use a tapestry needle to weave in ends back and forth through the stitches.
How to crochet the Lemon Peel Stitch Photo Tutorial
To begin: Chain an odd number. I’ve chained 15 here.

Row 1: Single Crochet in the 2nd chain from the hook. Double Crochet in the next chain, continue in this pattern-alternating a SC then a DC in each stitch across the row (14 stitches). The last stitch of the row will be a DC. When you’ve reached the end, chain 1 and turn.


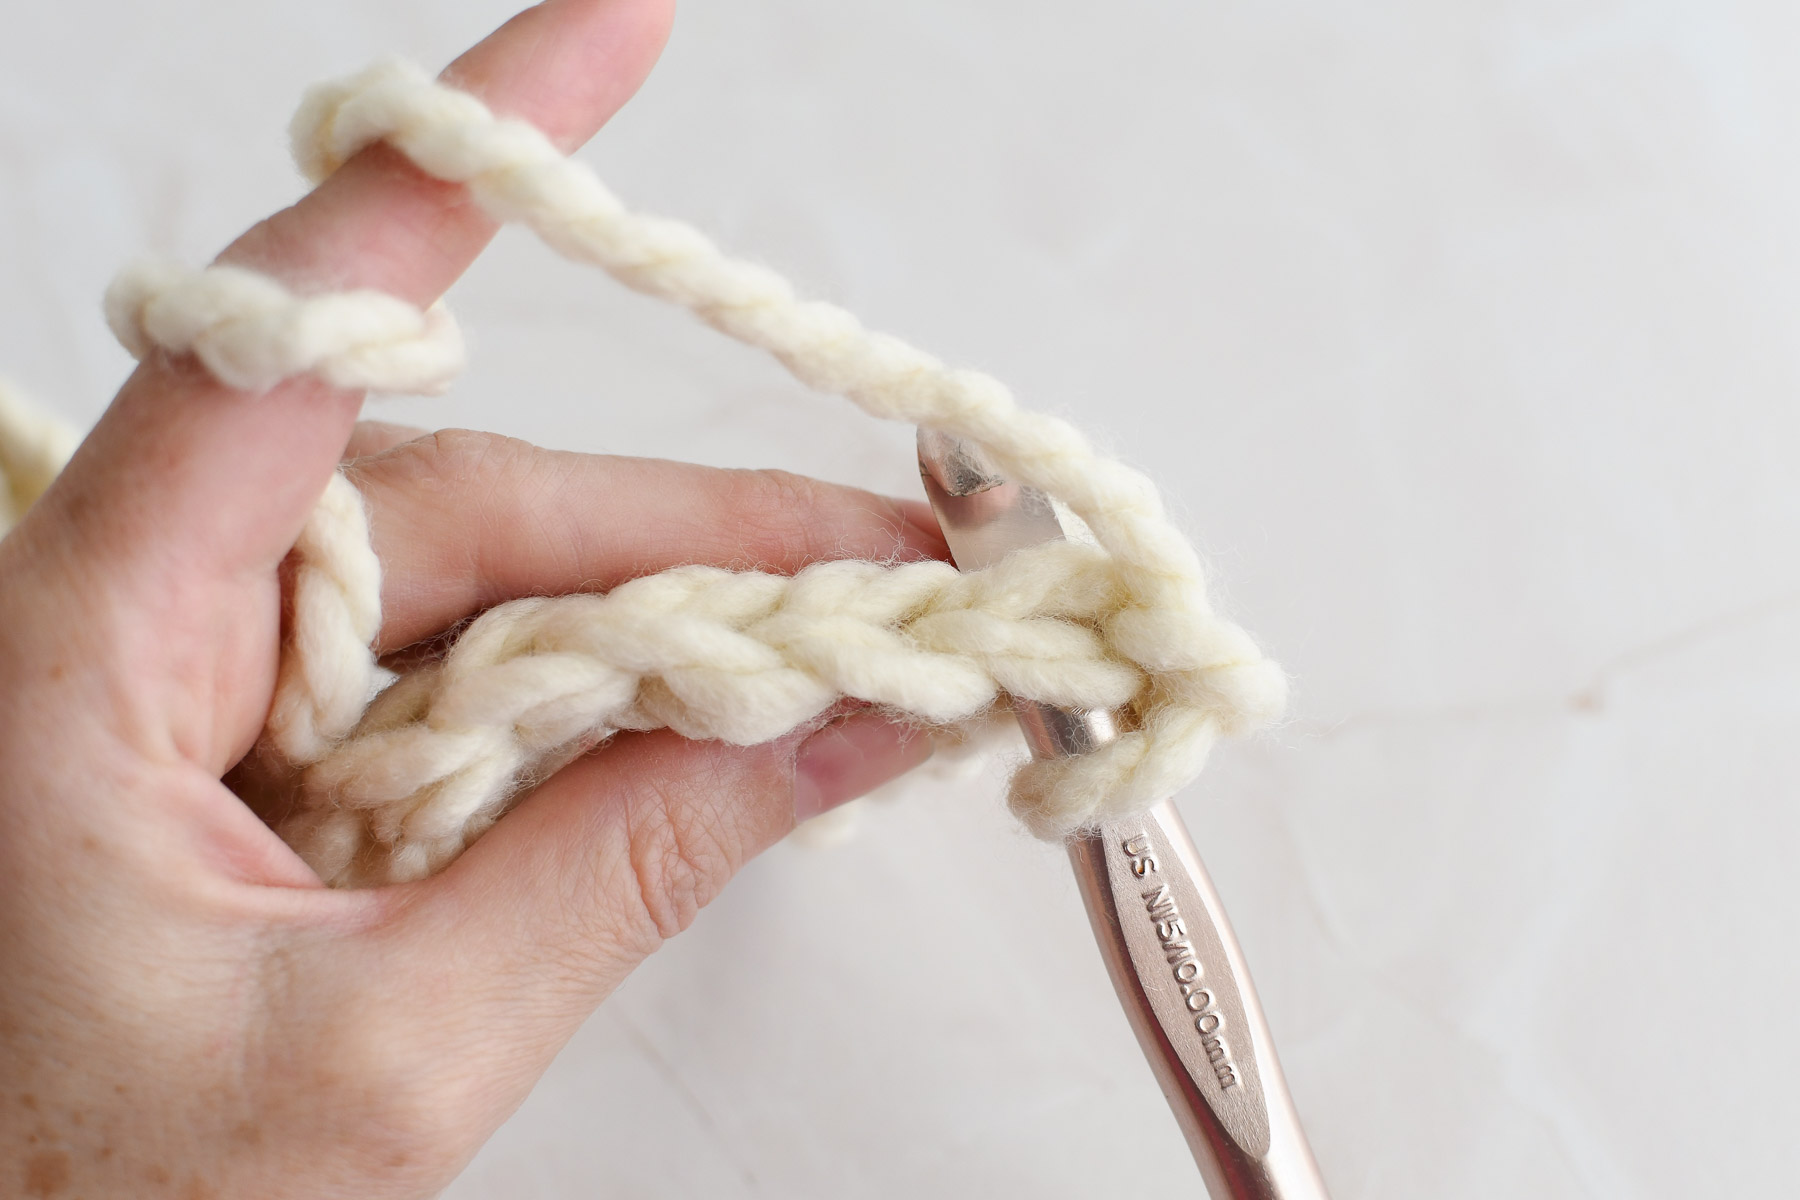
The end of Row 1 will look like this:

Helpful Hint: Before beginning Row 2, place a stitch marker in the first stitch from the previous row (beginning SC). This stitch can be difficult to see when working Row 2 and it can mess up your stitch count if missed.

Row 2-Turn your work so you can see the stitches across the top. Single crochet in the first stitch, double crochet in the next stitch. Repeat across the row. The SC should be in the double crochet from the previous row and vice versa.
When you get to the end, make sure and place a double crochet in the last stitch. On this row, it can be difficult to see.


A completed Row 2. You can place a stitch marker in the first stitch of the row again until you get a feel for where the edge stitches are. Then Ch 1 and turn the work.

Row 3: (Repeat Row 2) *SC, DC* across row. (The SC should be in the DC from the row below, and vice versa). Rows always begin with a SC and end with a DC. Take care not to miss the final DC at the end of the row. Ch 1 and turn.


Finish Row 3, and repeat until your work has reached the size you like.

To finish the project: At the last stitch of the row, cut yarn leaving a long tail and fasten off. Use a tapestry needle to weave in ends back and forth through the stitches.
I’d love to hear from you!
If you try the lemon peel stitch and love it, please leave a comment and let me know how it went. Happy Crocheting!


I don’t know how old this post is but I went looking for a new but easy stitch (and easy to read and interpret stitch) and I found yours – written well and with pics per step! Thank you for giving me another option for my blankets!
You’re welcome! This is a lovely stitch and I have a blanket pattern for it here: https://www.katiegetscreative.com/2025/04/chunky-crochet-blanket-pattern.html
Happy Crocheting!