Chunky Crochet Blanket Pattern
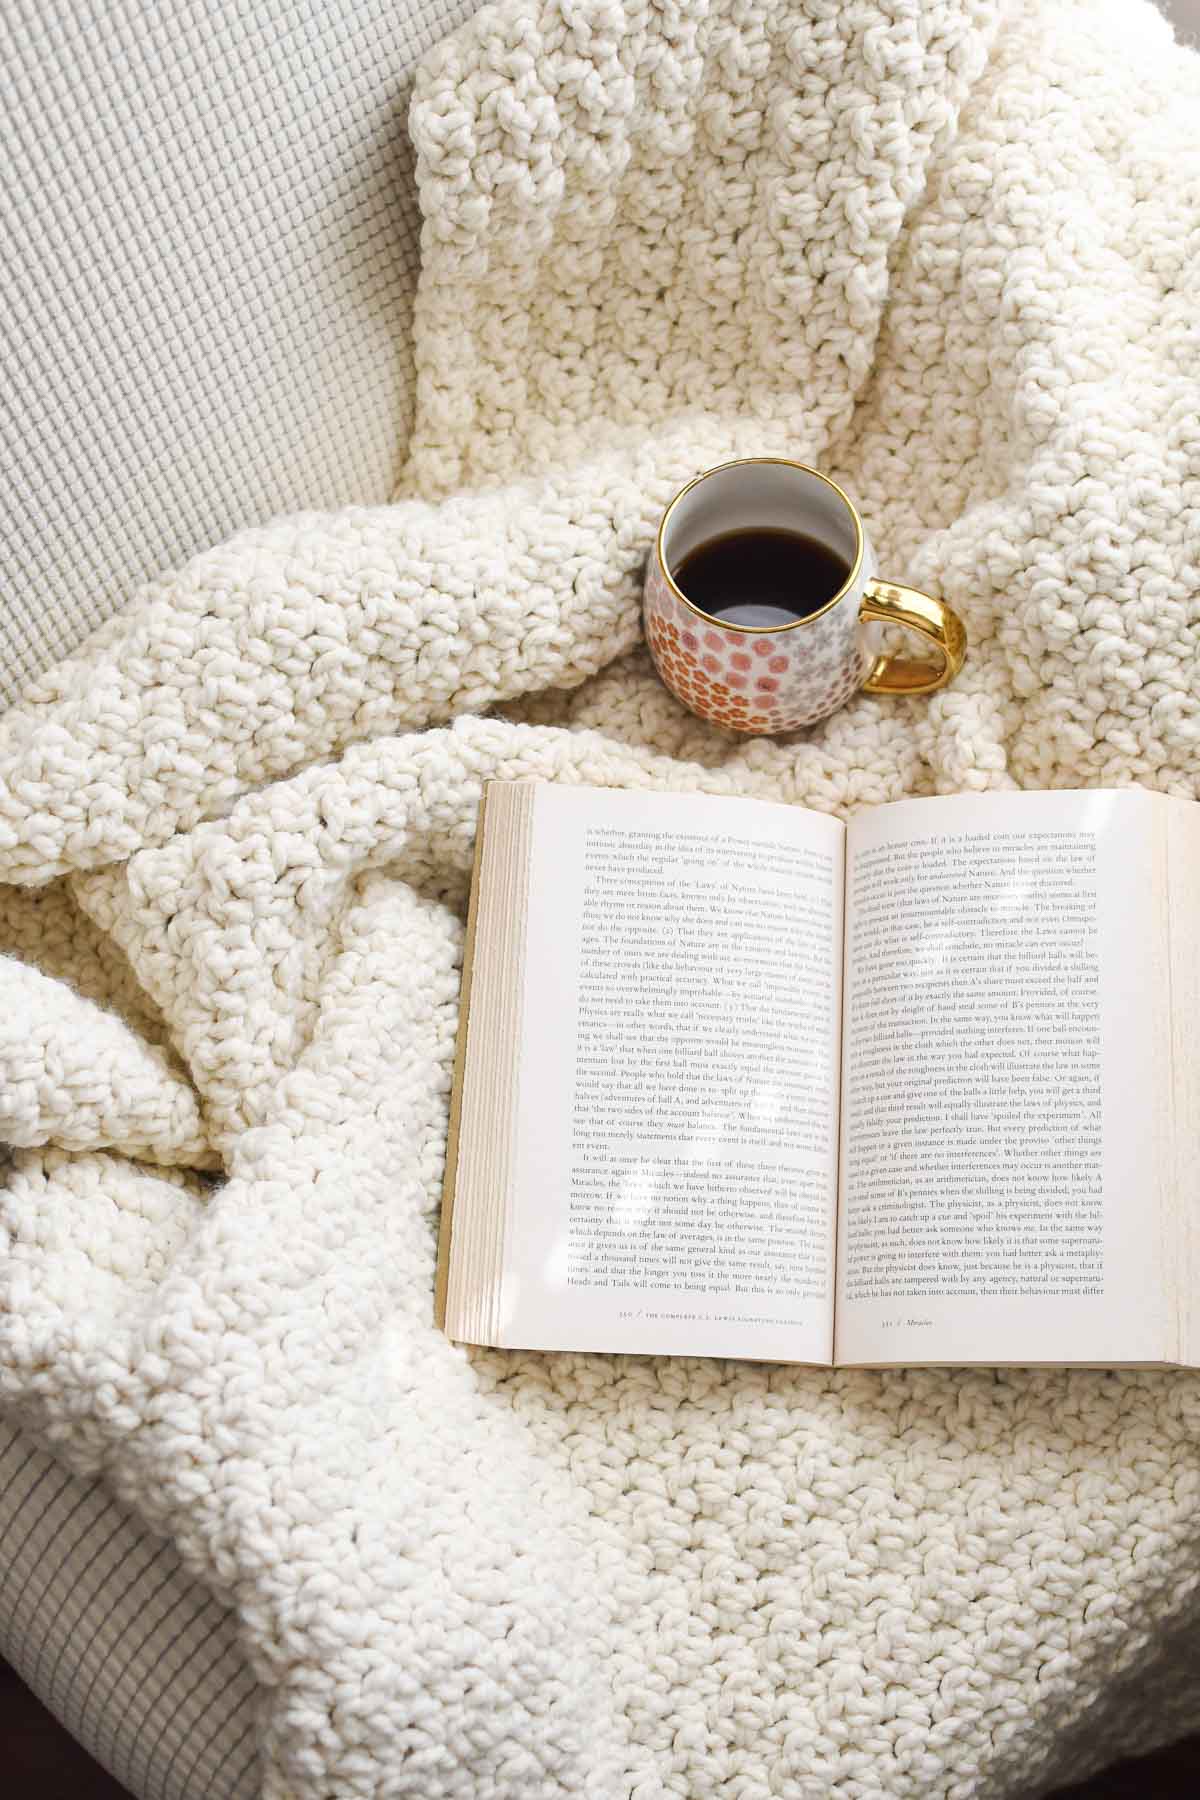
This chunky crochet blanket is the ultimate cozy project. Pure comfort vibes in every stitch! Made with a thick plush yarn, large hook, and an easy one-row repeat, this pattern is perfect for beginners or experienced crocheters looking for a relaxing & meditative project. As an added bonus-you get to snuggle under it as you’re working!
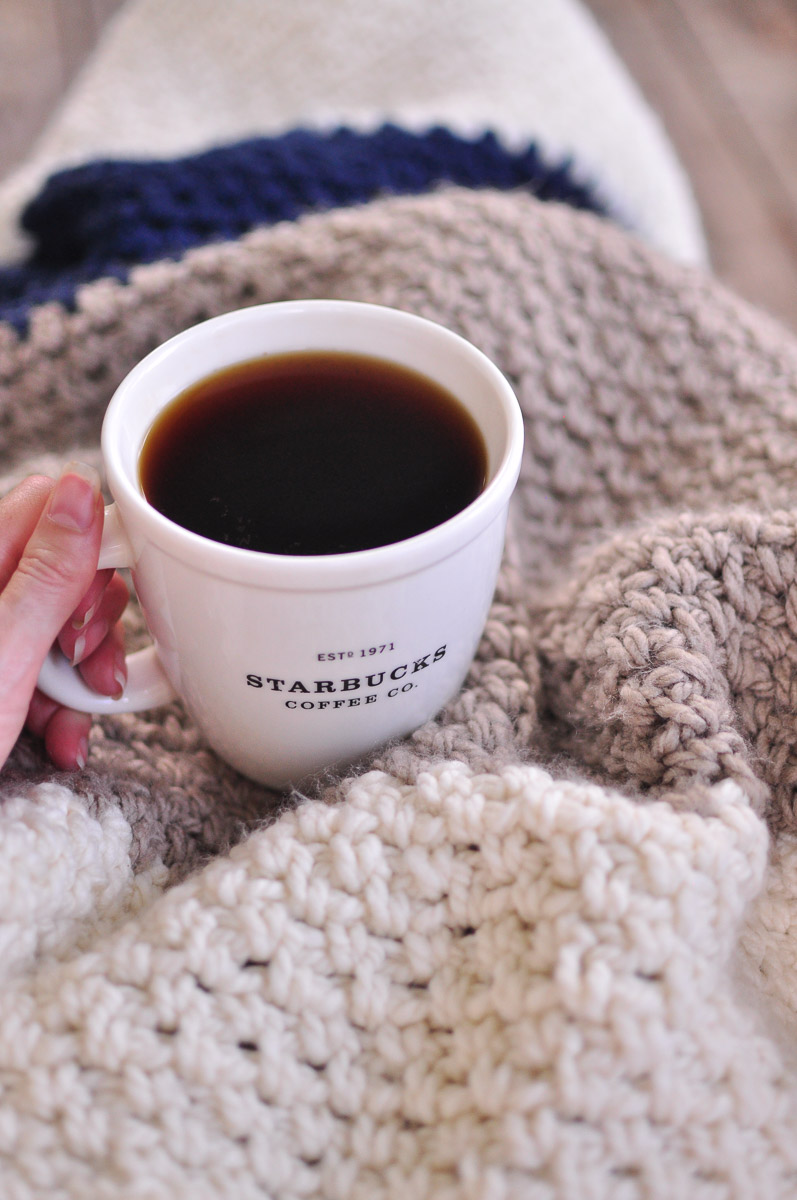
Grab your coffee and yarn, makers! Let’s get cozy.
Blanket Details:
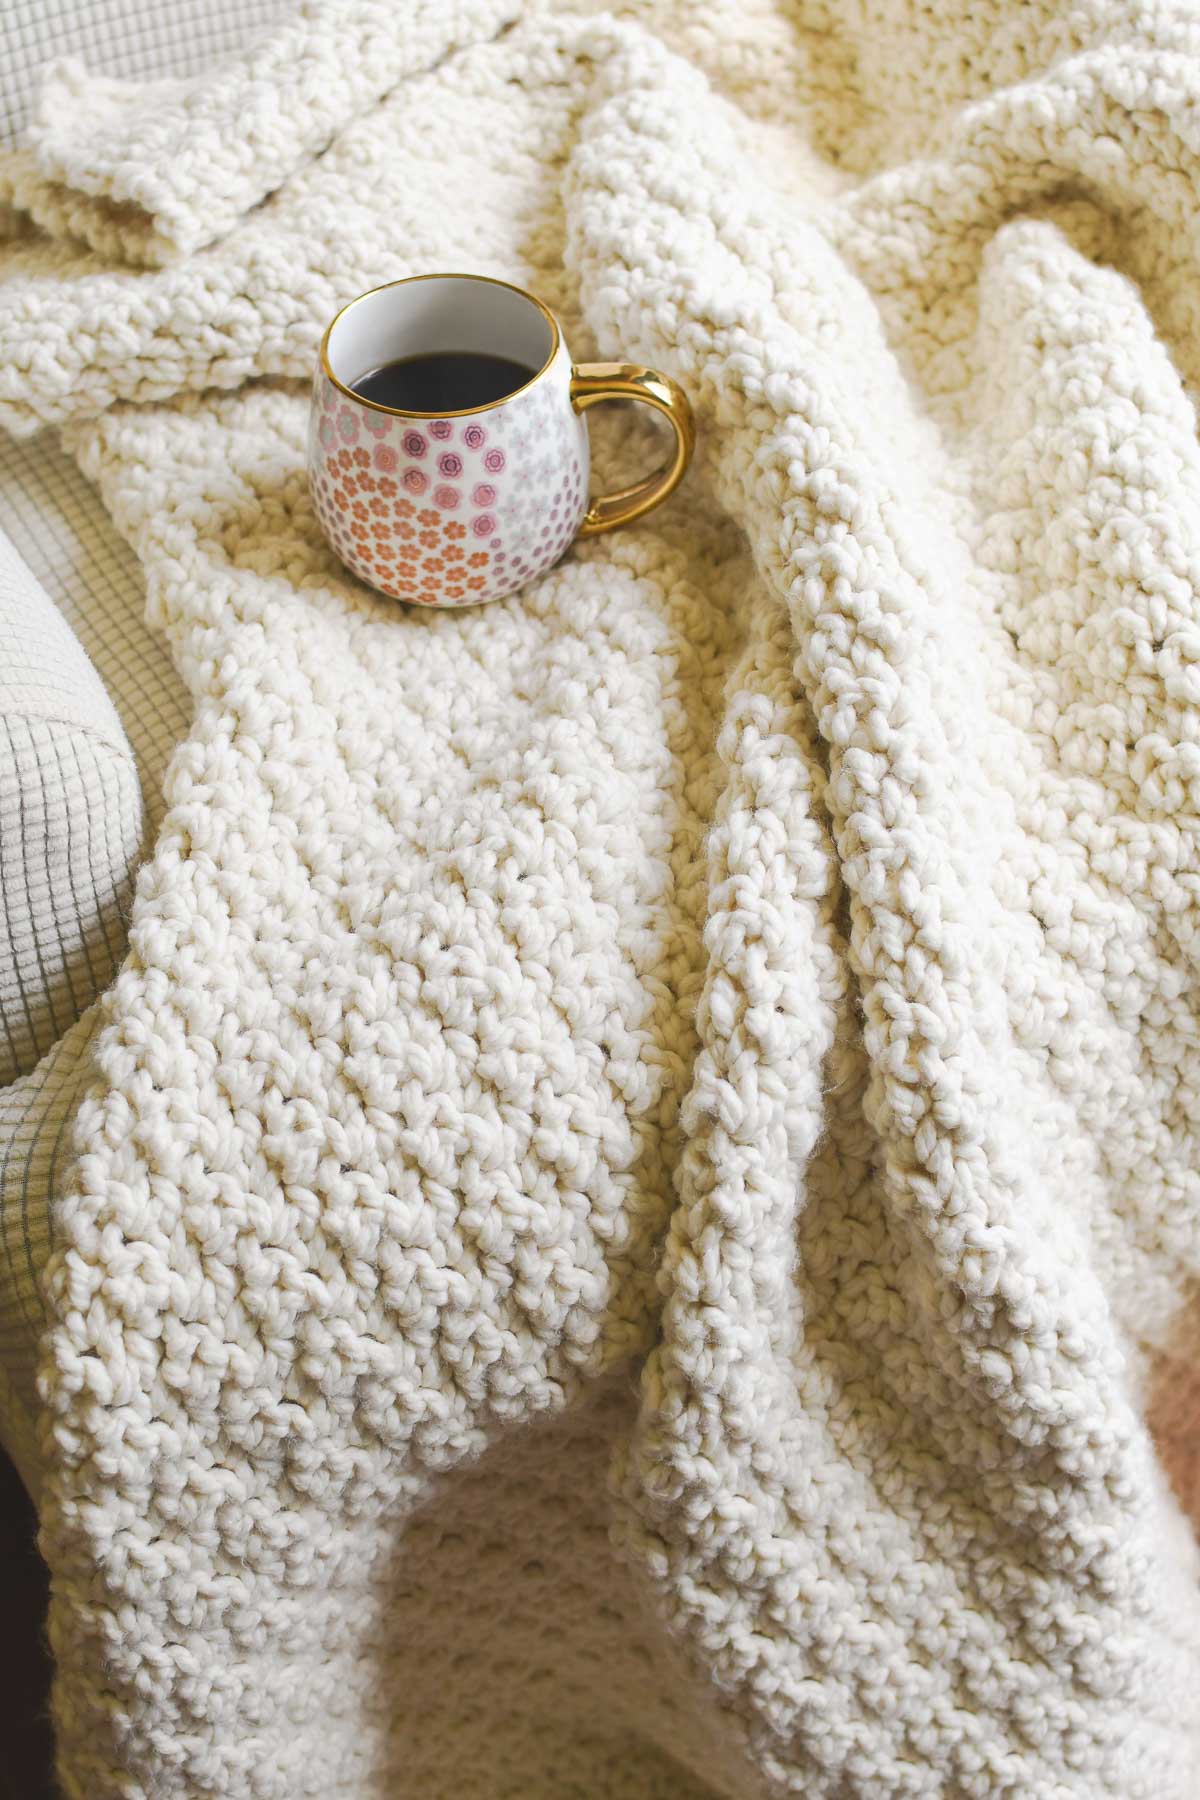
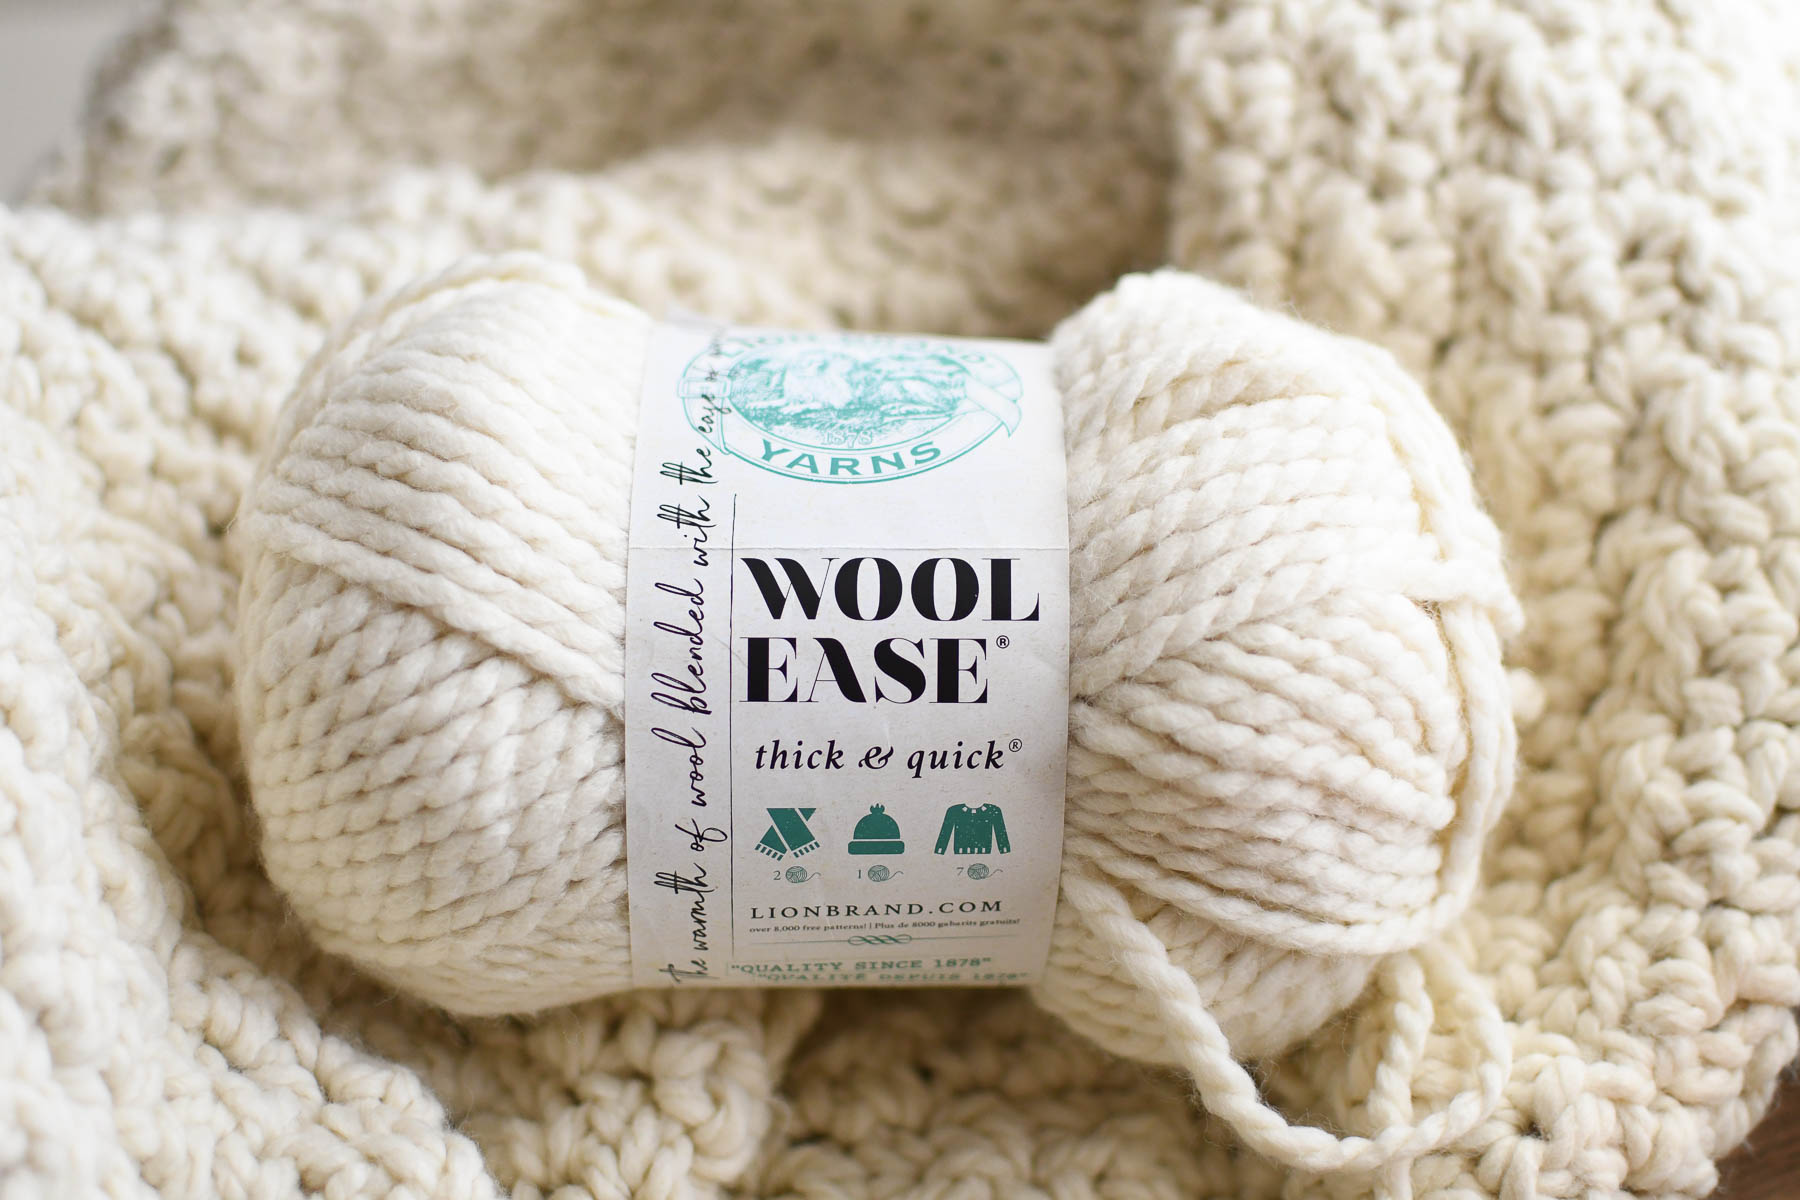
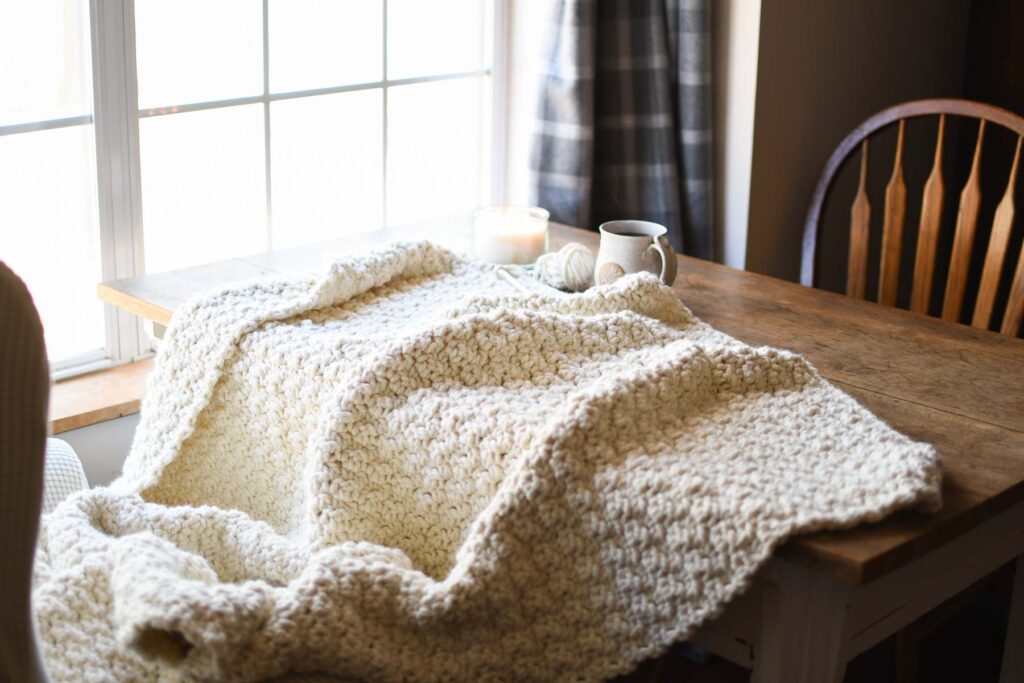
This is an oversize throw blanket using a bulky #6 weight yarn. I’ve chosen Wool Ease Thick & Quick in a creamy off-white color. We use the easy Lemon Peel stitch (alternating single and double crochet) to create the beautiful nubby texture.

This stitch also creates a reversible fabric that looks the same on both sides.

For simplicity, I chose not to add a border to this blanket. I love how the lemon peel stitch looks on it’s own and I don’t think a border is necessary, but you’re welcome to add one if you like!
You’ll need 11 skeins of yarn to make this blanket. When I’m buying yarn in bulk for blankets, I like to use Michael’s Buy in Bulk option to get the yarn at a discounted price. The current bulk pack is 15 skeins of yarn, so you’ll have extra left if you decide to make a border or if you want the blanket a bit larger.
Getting Started
Supplies
- Hook: 10.00mm/US N 15
- Yarns: Super Bulky #6, Lion Brand Wool Ease Thick & Quick
- Yarn alternatives: Premier Basix Super Bulky, Bernat Blanket Yarn, or Bernat Softee Chunky
- Color: Fisherman
- Quantity: 11 skeins
- Tools: Scissors & Tapestry needle
Stitches:
SC-single crochet
DC-double crochet
Ch-chain
Gauge: Not as important, but 5 rows with 24 stitches in each row measured 3.5 inches tall and 14 inches wide.
Tips: Keep tension on the looser side so that the stitches flow easily from your hook. If you crochet too tightly, the blanket will feel stiff instead of having a nice drape. If you find that you can’t keep a loose enough tension, move up a hook size.
Care instructions: Wool Ease yarn is 80% acrylic and 20% wool and is machine washable and dryable.
Finished size: 45″ wide x 58″ tall (approximately, this stitch is stretchy)
Chunky Crochet Blanket Written Pattern:
Chain 75 (or an odd number in the width that you want)
Row 1: SC in the 2nd chain from the hook. DC in the next chain, continue in this pattern alternating SC and DC in each stitch across the row (74 stitches). The last stitch of the row will be a DC. When you’ve reached the end, chain 1 and turn.
Row 2: SC in first stitch, DC in next stitch. *SC, DC* across row. (The SC should be in the DC from the row below, and vice versa). Rows always begin with a SC and end with a DC. At the end of the row, Ch 1 and turn.
Repeat Row 2 until you’re close to running out of yarn, then join a new skein and continue crocheting until the blanket is the length that you like! Steps for joining a new ball of yarn and finishing the blanket are below.
Chunky Crochet Blanket Step-by-Step Photos
To begin, Chain 75 stitches, or an odd number in the width you’d like your blanket to be. Keep in mind the stitches will grow wider as you crochet. I recommend doing a test swatch if you’re making a different size than the one listed here.
Row 1: Single Crochet in the 2nd chain from the hook. Double Crochet in the next chain, continue in this pattern alternating SC and DC in each stitch across the row (74 stitches). The last stitch of the row will be a DC. When you’ve reached the end, chain 1 and turn.

Helpful Hint: Before beginning Row 2, place a stitch marker in the first stitch from the previous row (beginning SC). This stitch can be difficult to see when working Row 2 and it can mess up your stitch count if missed. (Photo 2 below)
Row 2: Turn your work so you’re viewing the top of the stitches. Place a Single Crochet in the first stitch of the row, then a Double Crochet in the next stitch.

*SC, DC* across row. (The SC should be in the DC from the row below, and vice versa). Rows always begin with a SC and end with a DC. Take care not to miss the final DC at the end of the row. Ch 1 and turn.
Repeat Row 2 until you’re close to running out of yarn.
How to join a new ball of yarn
I prefer to start a new ball of yarn on a Single Crochet stitch.
To add a new skein of yarn, insert hook into next stitch and yarn over, pull up a loop. (2 loops on hook). Using the new yarn, put a loop on the hook and pull through the other 2 loops on the hook. One SC stitch made. Continue in pattern across the row.
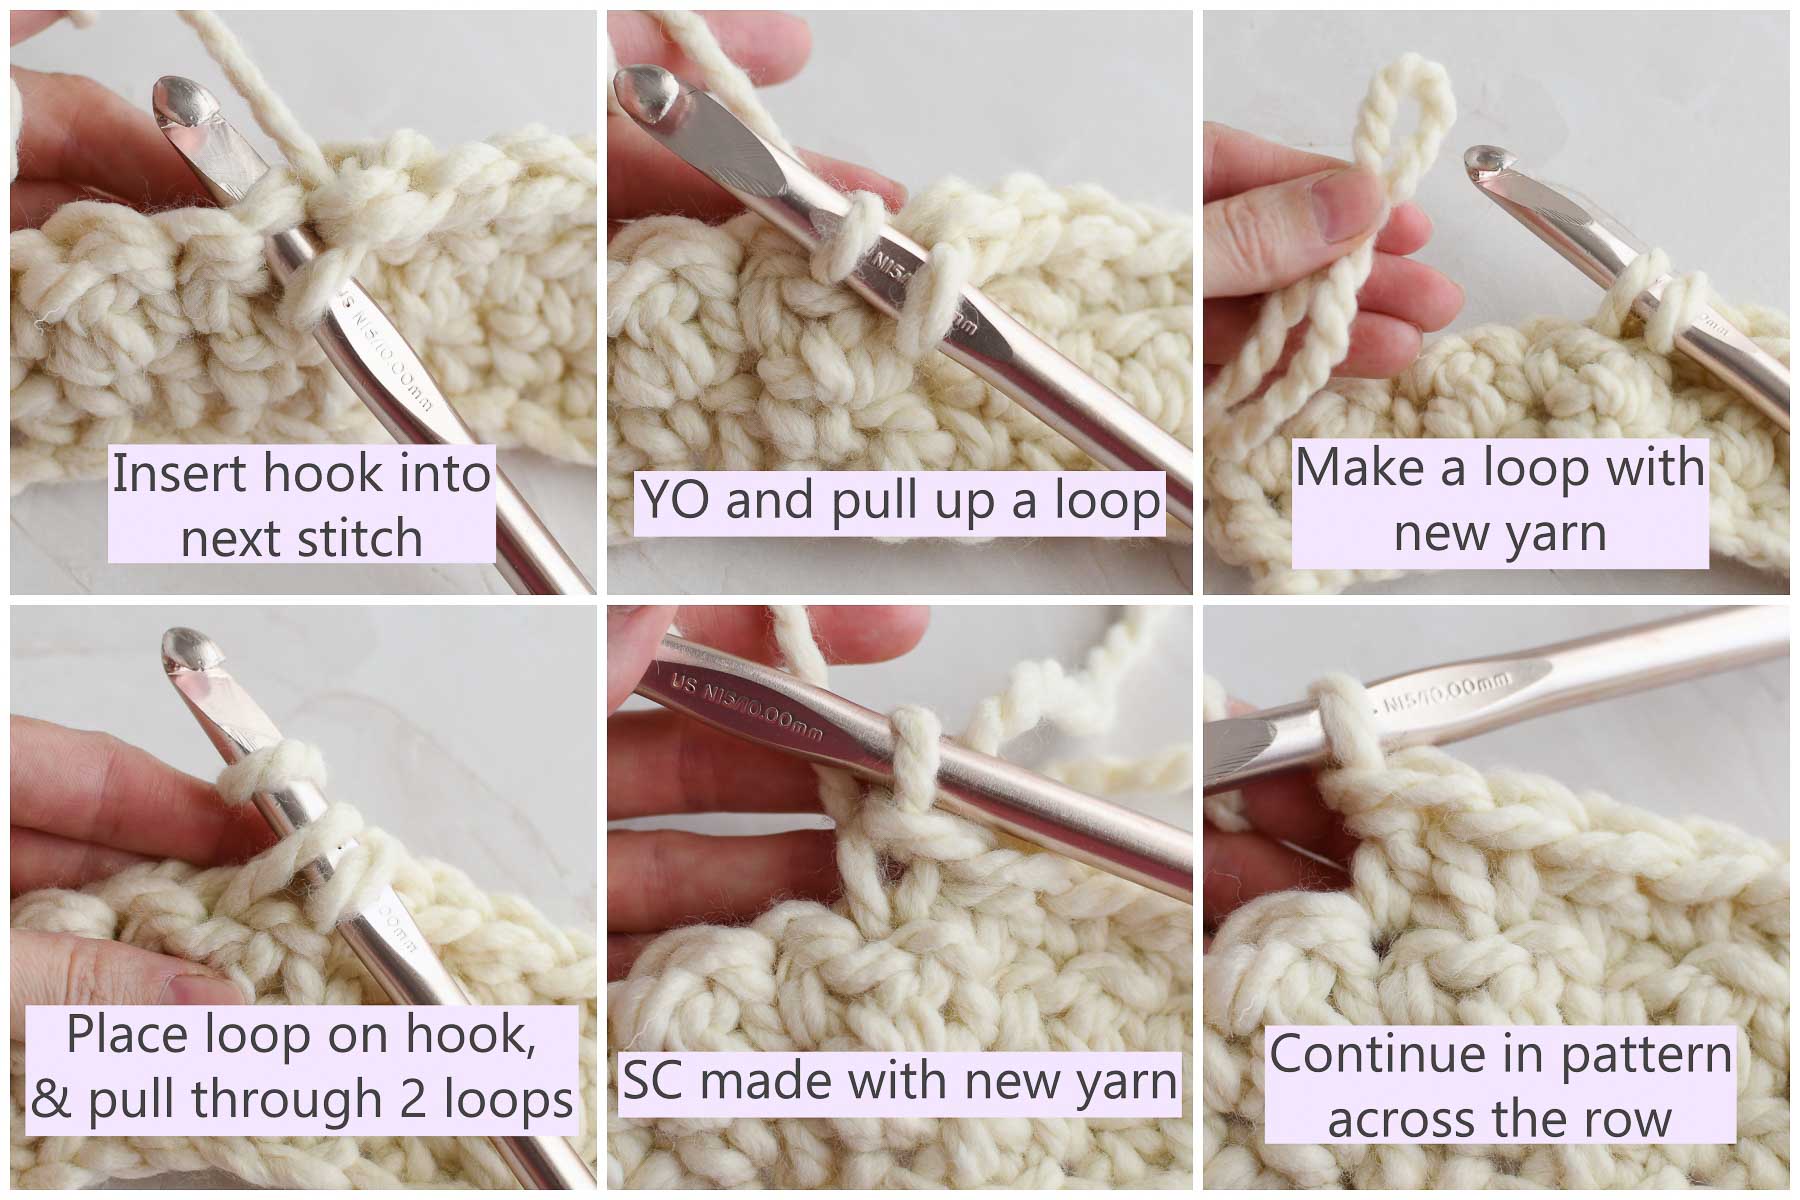
Work a few more rows, then you can weave in the ends from the yarn change. Very gently tighten the stitches (check the other side of the work to make sure the stitches don’t look distorted). Tie a loose knot to connect the ends (this mimics the look of the SC stitch) then weave the tails in opposite directions using a tapestry needle. Snip off the ends and continue crocheting!

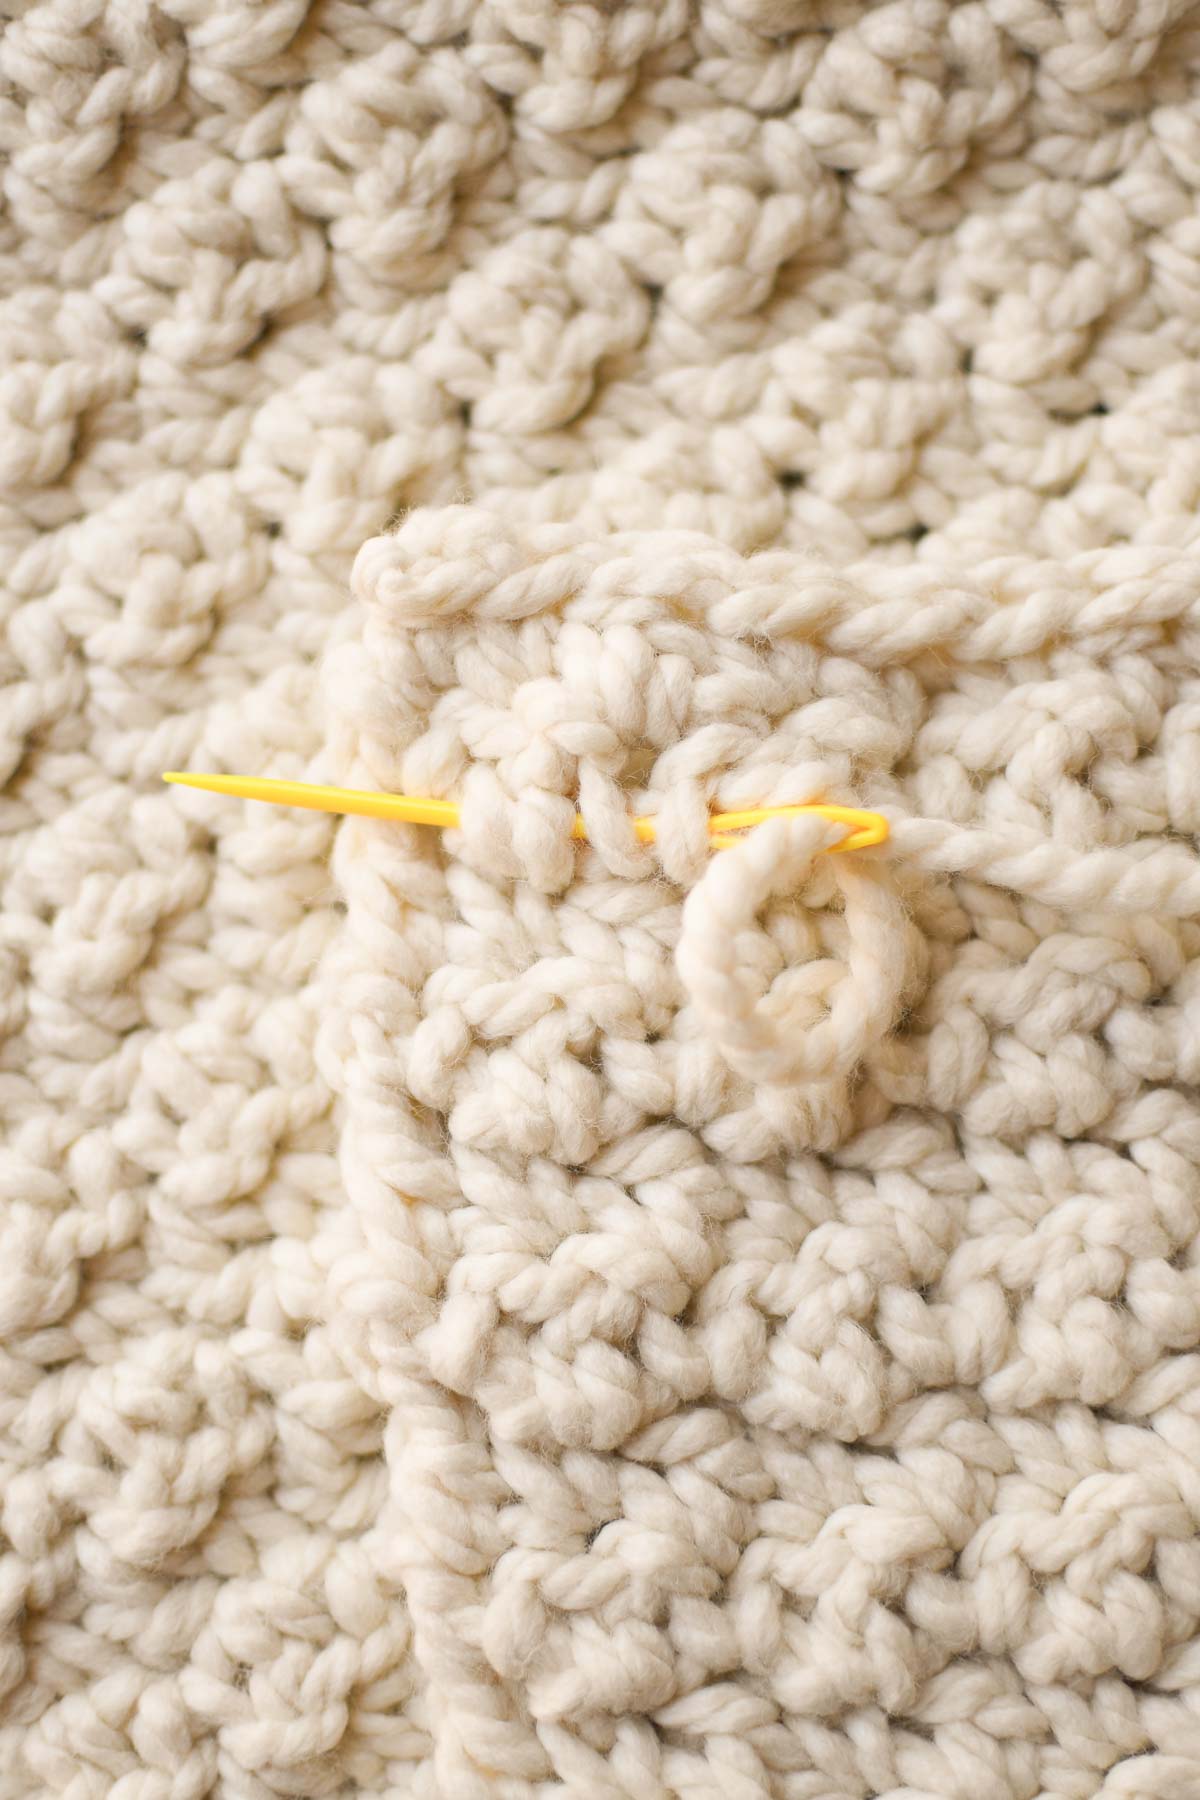
To finish the blanket: Work until you’ve run out of yarn or have the length of blanket that you like. At the last stitch of the row, cut yarn leaving a long tail and fasten off. Use a tapestry needle to weave in ends back and forth through the stitches as shown below.
Now go enjoy your snuggly blanket!
I’d love to hear from you!
If you try this pattern and love it, please leave a comment and let me know how it went. Happy Crocheting!
Want more cozy crochet patterns?
Check out some of our popular crochet patterns here!


Hi! I love this pattern because it is one I feel I could actually do! Do you have a printable version of it?
Hi Ashlee, I don’t have a printable for it yet, but will have one soon!